

How To Add A Border In Photoshop Elements
Placing a edge or frame effectually your photos in Photoshop tin help to add together a bit of visual interest with ease. Depending on the style of border you want to add to your images, at that place are a variety of looks yous can reach.
To add a solid-colored border around your canvas, follow these steps:
- Press Command or Control + A to select the canvass.
- Create a new layer at the peak of the layer stack.
- Get to Edit > Stroke.
- Choose a colour and width for the border.
- Prepare the stroke position to "Center."
- Click OK.
- Printing Command or Control + D to deselect your canvas
- Now your epitome has a edge!
This is i of the easiest methods to add together a border, but there are several others. Throughout this tutorial yous'll non only larn more well-nigh how to create solid colour borders, simply likewise gradient, patterned, and polaroid way borders.
Permit's get started!
How To Add together A Solid Color Edge To An Image In Photoshop
There are two ways yous can create a edge around your images on Photoshop. Once you sympathise these concepts, y'all tin can customize the borders with gradients, patterns, or decorative elements.

The get-go method of creating a border will embrace parts of your image since you volition be adding a stroke around your epitome. This method is useful when you don't want to change the size of your sail.
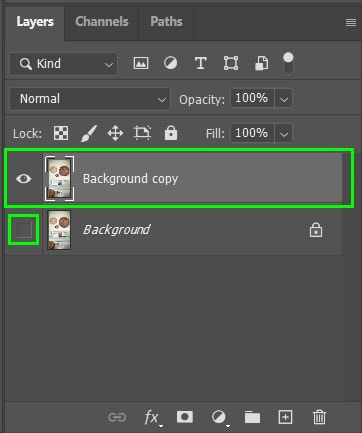
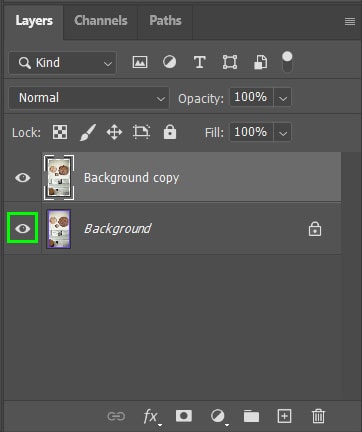
To start, create a duplicate of your background layer by clicking and dragging the groundwork layer to the "Create a new layer" icon at the lesser of the Layers console. You tin besides use the shortcut keyboard by pressing Command + J (Windows) or Command + J (Mac).

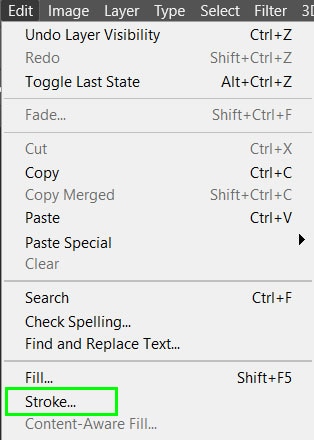
Hide the original background layer by clicking on the centre icon. So select the duplicate layer and navigate to Edit > Stroke… to open the Stroke window.
In the Stroke window, select how wide you would like the border to be by entering a number into the Width box. Y'all tin can double-click on the Colour box to cull your desired solid color.
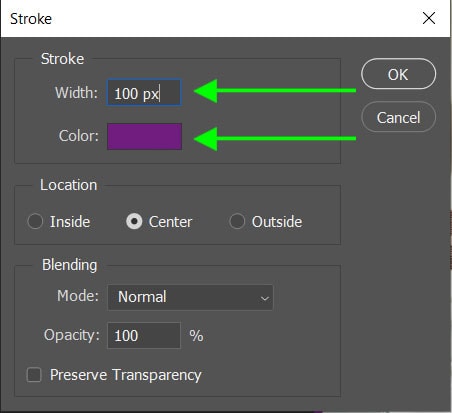
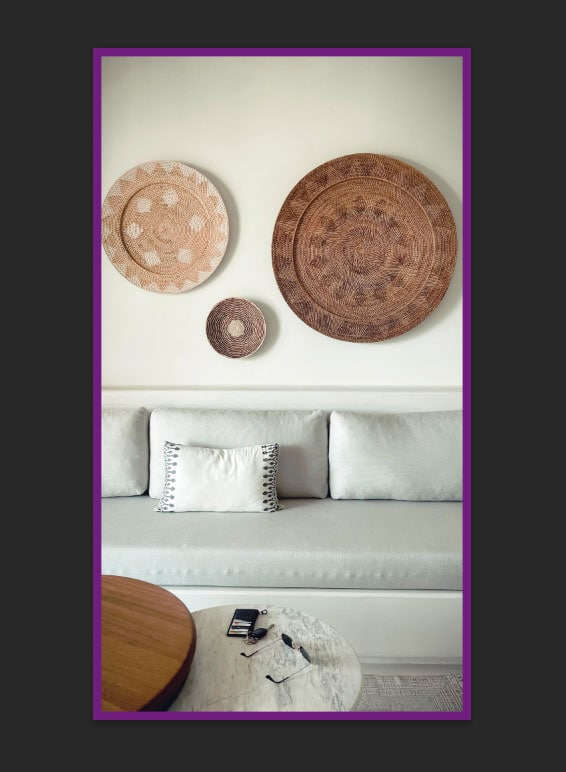
Once you select OK, your image volition be surrounded by a solid colored border.
If you don't want to cut into your prototype at all, you tin increase your canvas size and use the extra space for the border instead.
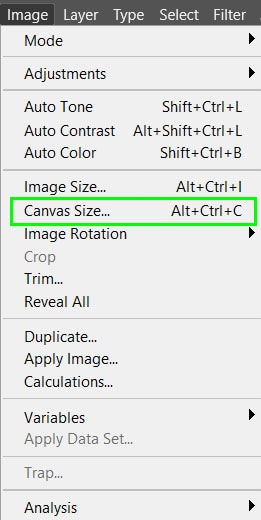
To increase your canvas size, navigate to Epitome > Canvas Size or apply the shortcut Alt + Control + C (Windows) or Option + Control + C (Mac).
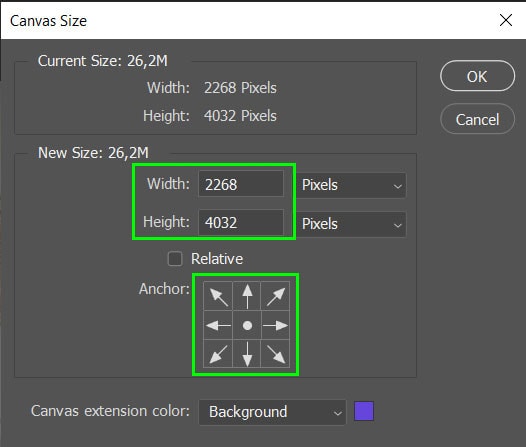
Make certain the ballast cake shows arrows going to each side of the image to ensure the extra canvas space is added evenly around the photo. Then increment the canvas size past increasing the width and height past the same corporeality of pixels.
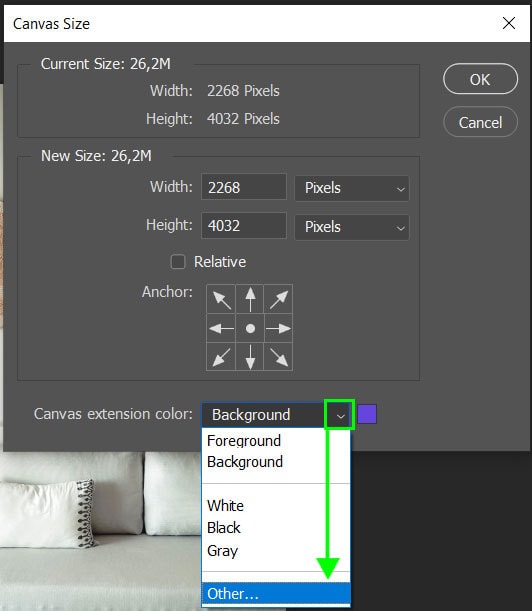
At the lesser of the window, you can select your edge colour past clicking on the driblet-downwards box side by side to Canvas Extension Color. Select "Other…" to cull a color from the Colour Picker.
Select OK and your border will be added to your paradigm without cropping parts of the epitome. Call back that your epitome will now be larger since you extended the canvas to fit the border.

If the border does not announced, make sure the background layer is visible by selecting the center icon on the layer.
How To Add A Gradient Border
To kickoff, create a copy of your background layer past selecting the layer so click and elevate the layer to the "Create a new layer" icon at the lesser of the Layers panel. Yous tin besides utilise the shortcut Control + J (Windows) or Control + J (Mac).

Click on the copied layer to select information technology, then click on the "Add a layer style" icon at the lesser of the Layers panel. Choose Stroke… to add the border.


Once the Layer Style window opens, you can alter the various elements of the edge. Select how wide you would similar the border to be with the size slider.

In the same window select the driblet-down list next to Fill Type and cull Gradient.
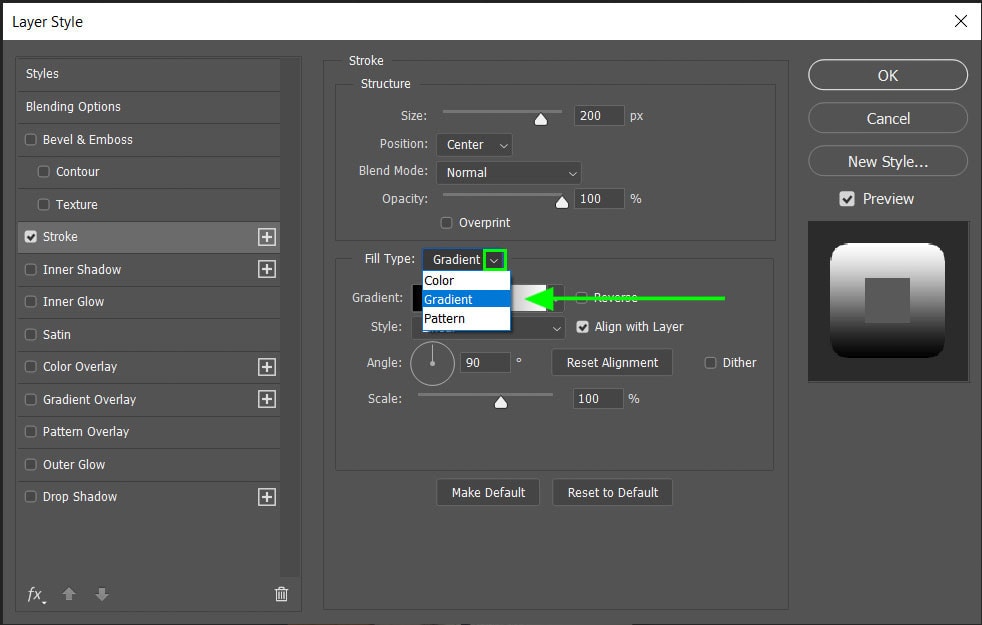
Once selected, more options will become bachelor for you to customize the gradient to your preferences.

In one case you have gear up the gradient options, select OK and you will take a gradient border effectually your prototype.

How To Add A Patterned Border
To add a patterned border, make a copy of your epitome layer past selecting the layer then click and elevate the background layer to the "Create a new layer" icon in the Layers panel. The shortcut is Control + J (Windows) or Command + J (Mac).
Make sure the correct layer is selected then click on the "Add a layer style" icon at the bottom of the Layers panel. Select "Stroke…" to add the patterned border.
In the Layer Manner window, you can select how wide you would like the border to exist with the size slider.

In the Layer Way window click the driblet-down list next to Fill Type and choose Pattern. In one case selected, design options will popular up where you can choose and adjust the pattern yous would like to add together.


One time you ready your preferences and select OK, you volition have a patterned border around your image.

How To Add A Border To A Selection
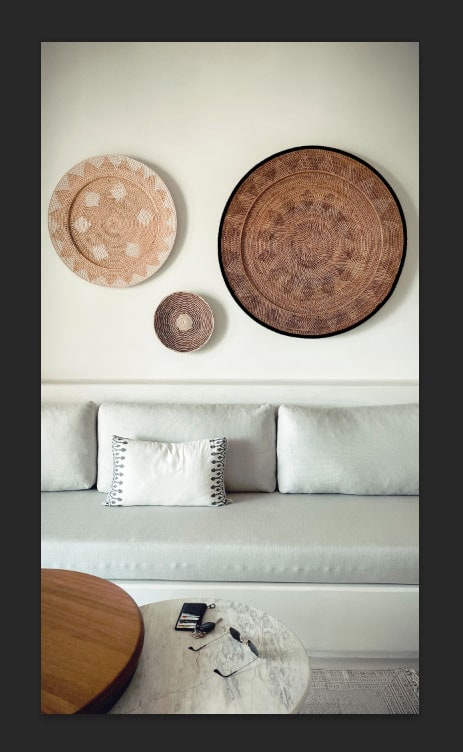
In some images, you may want to add a border to an element inside your image. You can do this to create a framed look on certain elements in your image, such every bit items hanging on a wall.
Yous can easily create a edge effectually a selection merely remember to create a copy of your epitome layer in case you are non happy with the results.
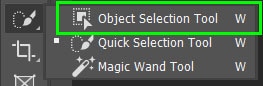
To create this edge, get-go by selecting an item inside your prototype. You can use whatever of the quick selection tools or marquee tools. These are both located on your toolbar on the left-manus panel of your workspace.

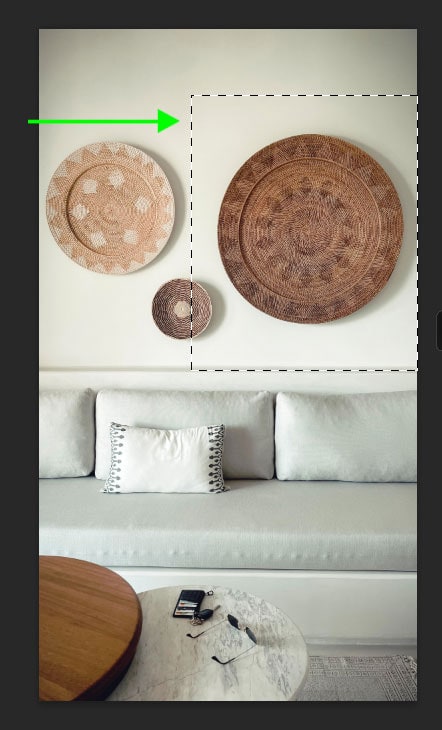
In this instance, I will use the object selection tool to select ane of the round items on the wall.
To use this tool, drag the mouse over the detail you desire to exist selected and information technology volition create a choice based on the object'south shape.

One time the object is selected, navigate to Edit > Stroke… and the Stroke window will open.
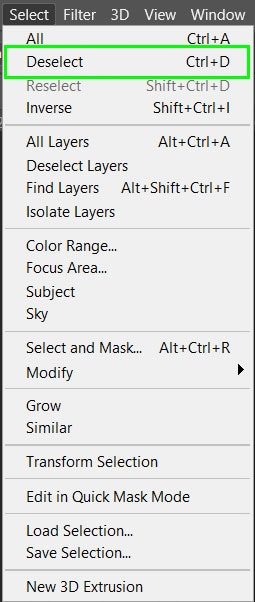
Select the width and colour you would like the border to be and select OK. Deselect the area past navigating to Select > Deselect or using the shortcut Control + D (Windows) or Command + D (Mac).
You will now take a border effectually the object you selected.
How To Create A Decorative Custom Border
Start past creating a solid border around your epitome. To do this navigate to Edit > Stroke… and choose a color and the width you would like. Select OK to apply the border.
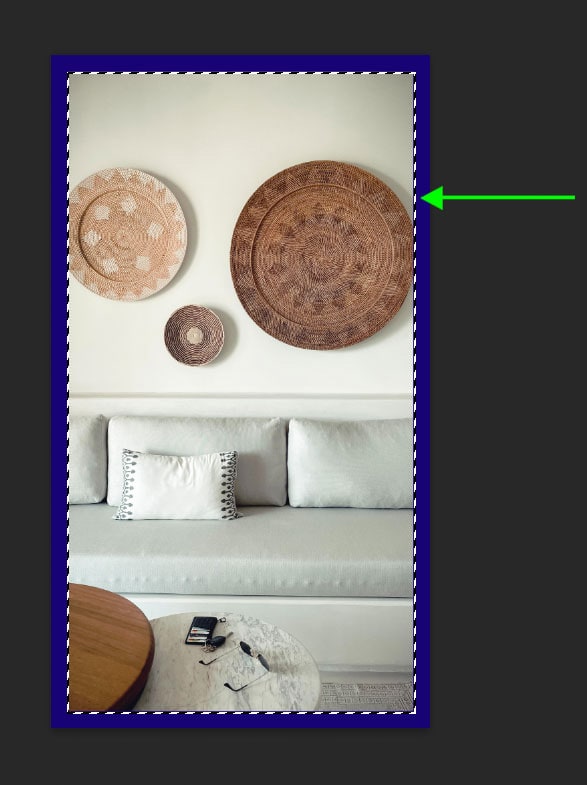
Side by side, create a selection around your border to but add the effects to the border. To practise this, select the rectangular marquee tool from the toolbar or utilize the shortcut by pressing M on the keyboard.

Draw the rectangular marquee on the inside of the border and so merely the prototype is selected, not the border.
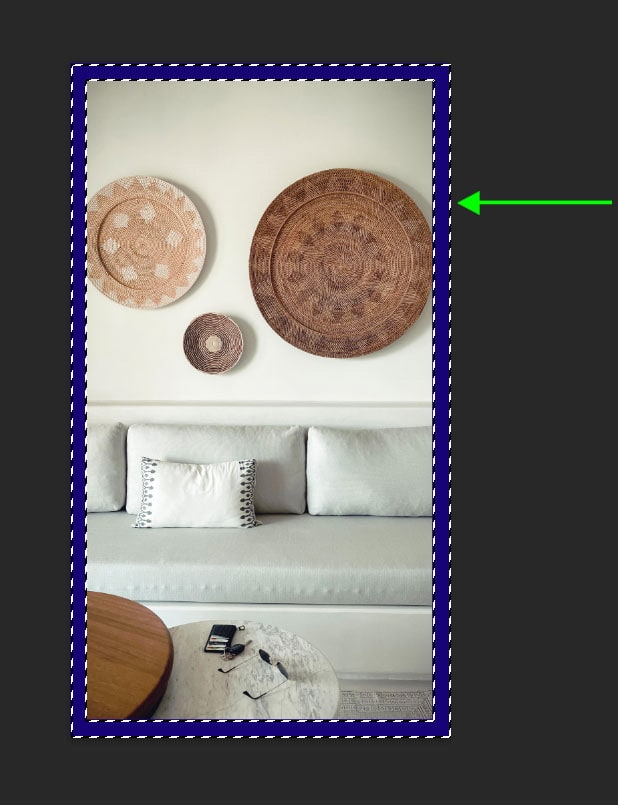
And so, invert the selection by navigating to Select > Inverse or using the shortcut Shift + Command + I (Windows) or Shift + Control + I (Mac).
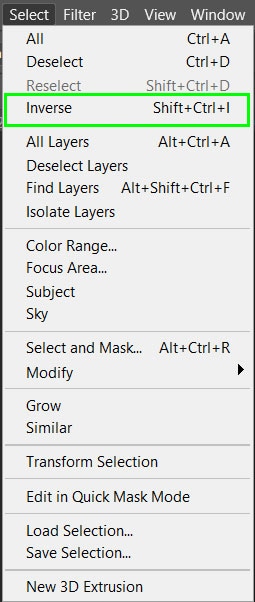
The selection will now just surround the border, and then whatsoever furnishings yous apply will only touch on the border.
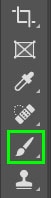
Select the brush tool on your toolbar or only printing B on your keyboard. Change the brush style by selecting the drop-down carte du jour on the options bar.

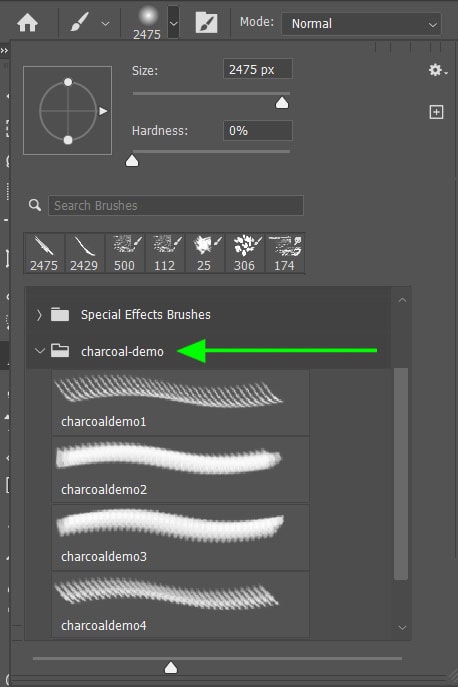
You tin can choose any way to use on your border. For this example, I am using a complimentary demo castor set, Charcoal Demo. If you want to find more brushes to employ, I share some of the best places hither.
In one case your brush style is selected, you can change the opacity and blend mode on the top options bar.

In one case yous have your desired settings, use the brush on areas of the edge to create a unique upshot. Once you have finished, navigate to Select > Deselect or use the shortcut Command + D (Windows) or Command + D (Mac).
You volition now have a unique border around your paradigm.
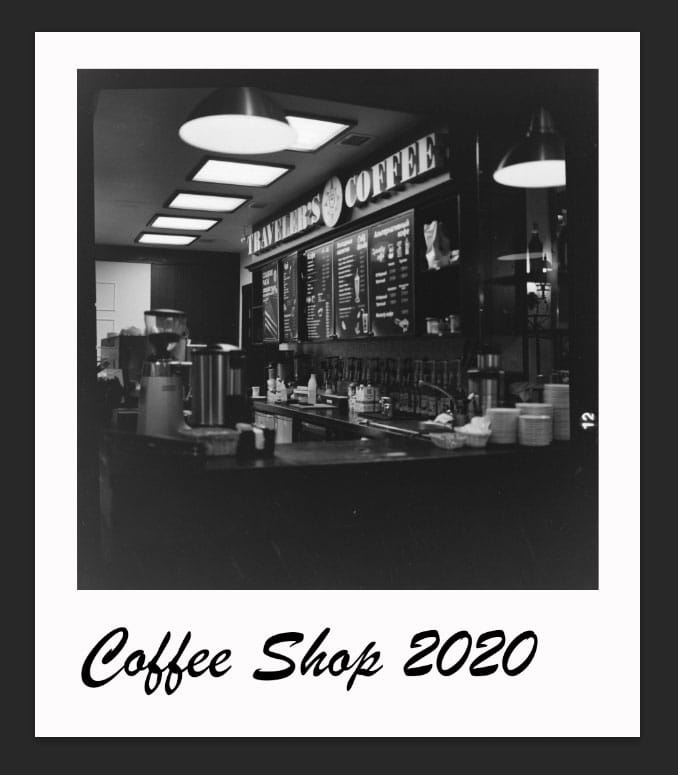
How To Create A Polaroid Fashion Border In Photoshop
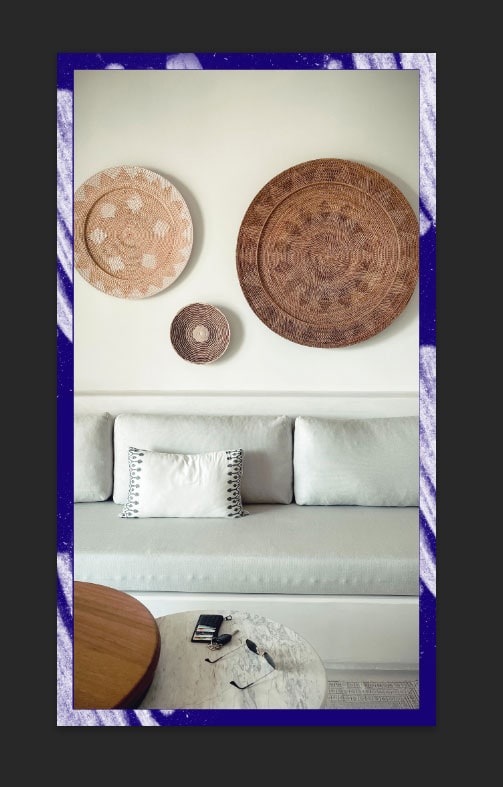
Polaroid photos produce a cornball feel for photographers, merely the film medium has its downfalls. If you accept a digital image, you can easily create the illusion of a polaroid image. Yous can do this past creating an uneven border effectually your photo.
To create the Polaroid-style border, you will demand to increase your sail size. Start past navigating to Image > Canvas Size… or utilize the shortcut Alt + Control + C (Windows) or Option + Control + C (Mac).
Position the anchor point to extend towards the bottom of the canvas and out to the sides. This will create a bottom-heavy canvas size. Make certain the Canvas extension colour is set to "Background" at the bottom of the window.
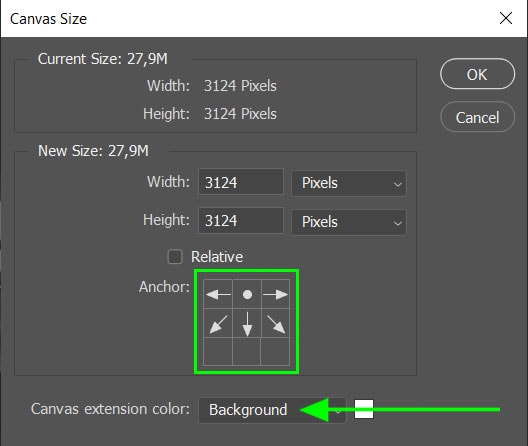
Increase the width and height simply make certain to increment the top past more than the width. Hither I volition increment the width by 500 pixels and the height by 1100 pixels. Select OK to apply the new canvas size.

Make certain your image layer is selected and use the arrow keys on your keyboard to reposition your prototype. The top and sides of your image should have an equal border while the bottom of the image has a larger edge area.

To create the white groundwork, navigate to Layer > New Fill Layer > Solid Color. You can proper name your new layer before selecting OK.


The Colour Picker will open up to permit you to select the fill color you want your edge to have. Once yous have selected your color, press OK.

The new layer will be placed over your image layer. In the Layers console, click on the new make full layer and elevate information technology underneath your prototype layer.

To add together an extra affect to your Polaroid-style border, y'all tin can add together text on the lesser border area. To add text, select the blazon tool from the toolbar or press T on your keyboard. Create a text block by clicking and dragging on the area you would like your text to appear.


Select a font, font size, and font colour on the tiptop options bar for your text. Next type in your text in the text box and you have a customized Polaroid-style epitome.

So with that, you now know a scattering of easy ways to add borders to your photos, including a nostalgic polaroid border, perfect for any digital photo!
Happy Editing!
Source: https://www.bwillcreative.com/how-to-add-a-border-in-photoshop/
Posted by: stoutinges1969.blogspot.com
0 Response to "How To Add A Border In Photoshop Elements"
Post a Comment